

Web Testing
Virtuoso Overview and Setup
Introducing Virtuoso
- Virtuoso is a collaborative, intelligent robotic test automation platform that speeds testing by empowering engineers and non-engineers to create self-maintaining automation in the cloud.
- Virtuoso is used to automate UI, UX, functional, integration, visual, compatibility and regression testing for dynamic Enterprise and Custom web and mobile browser applications
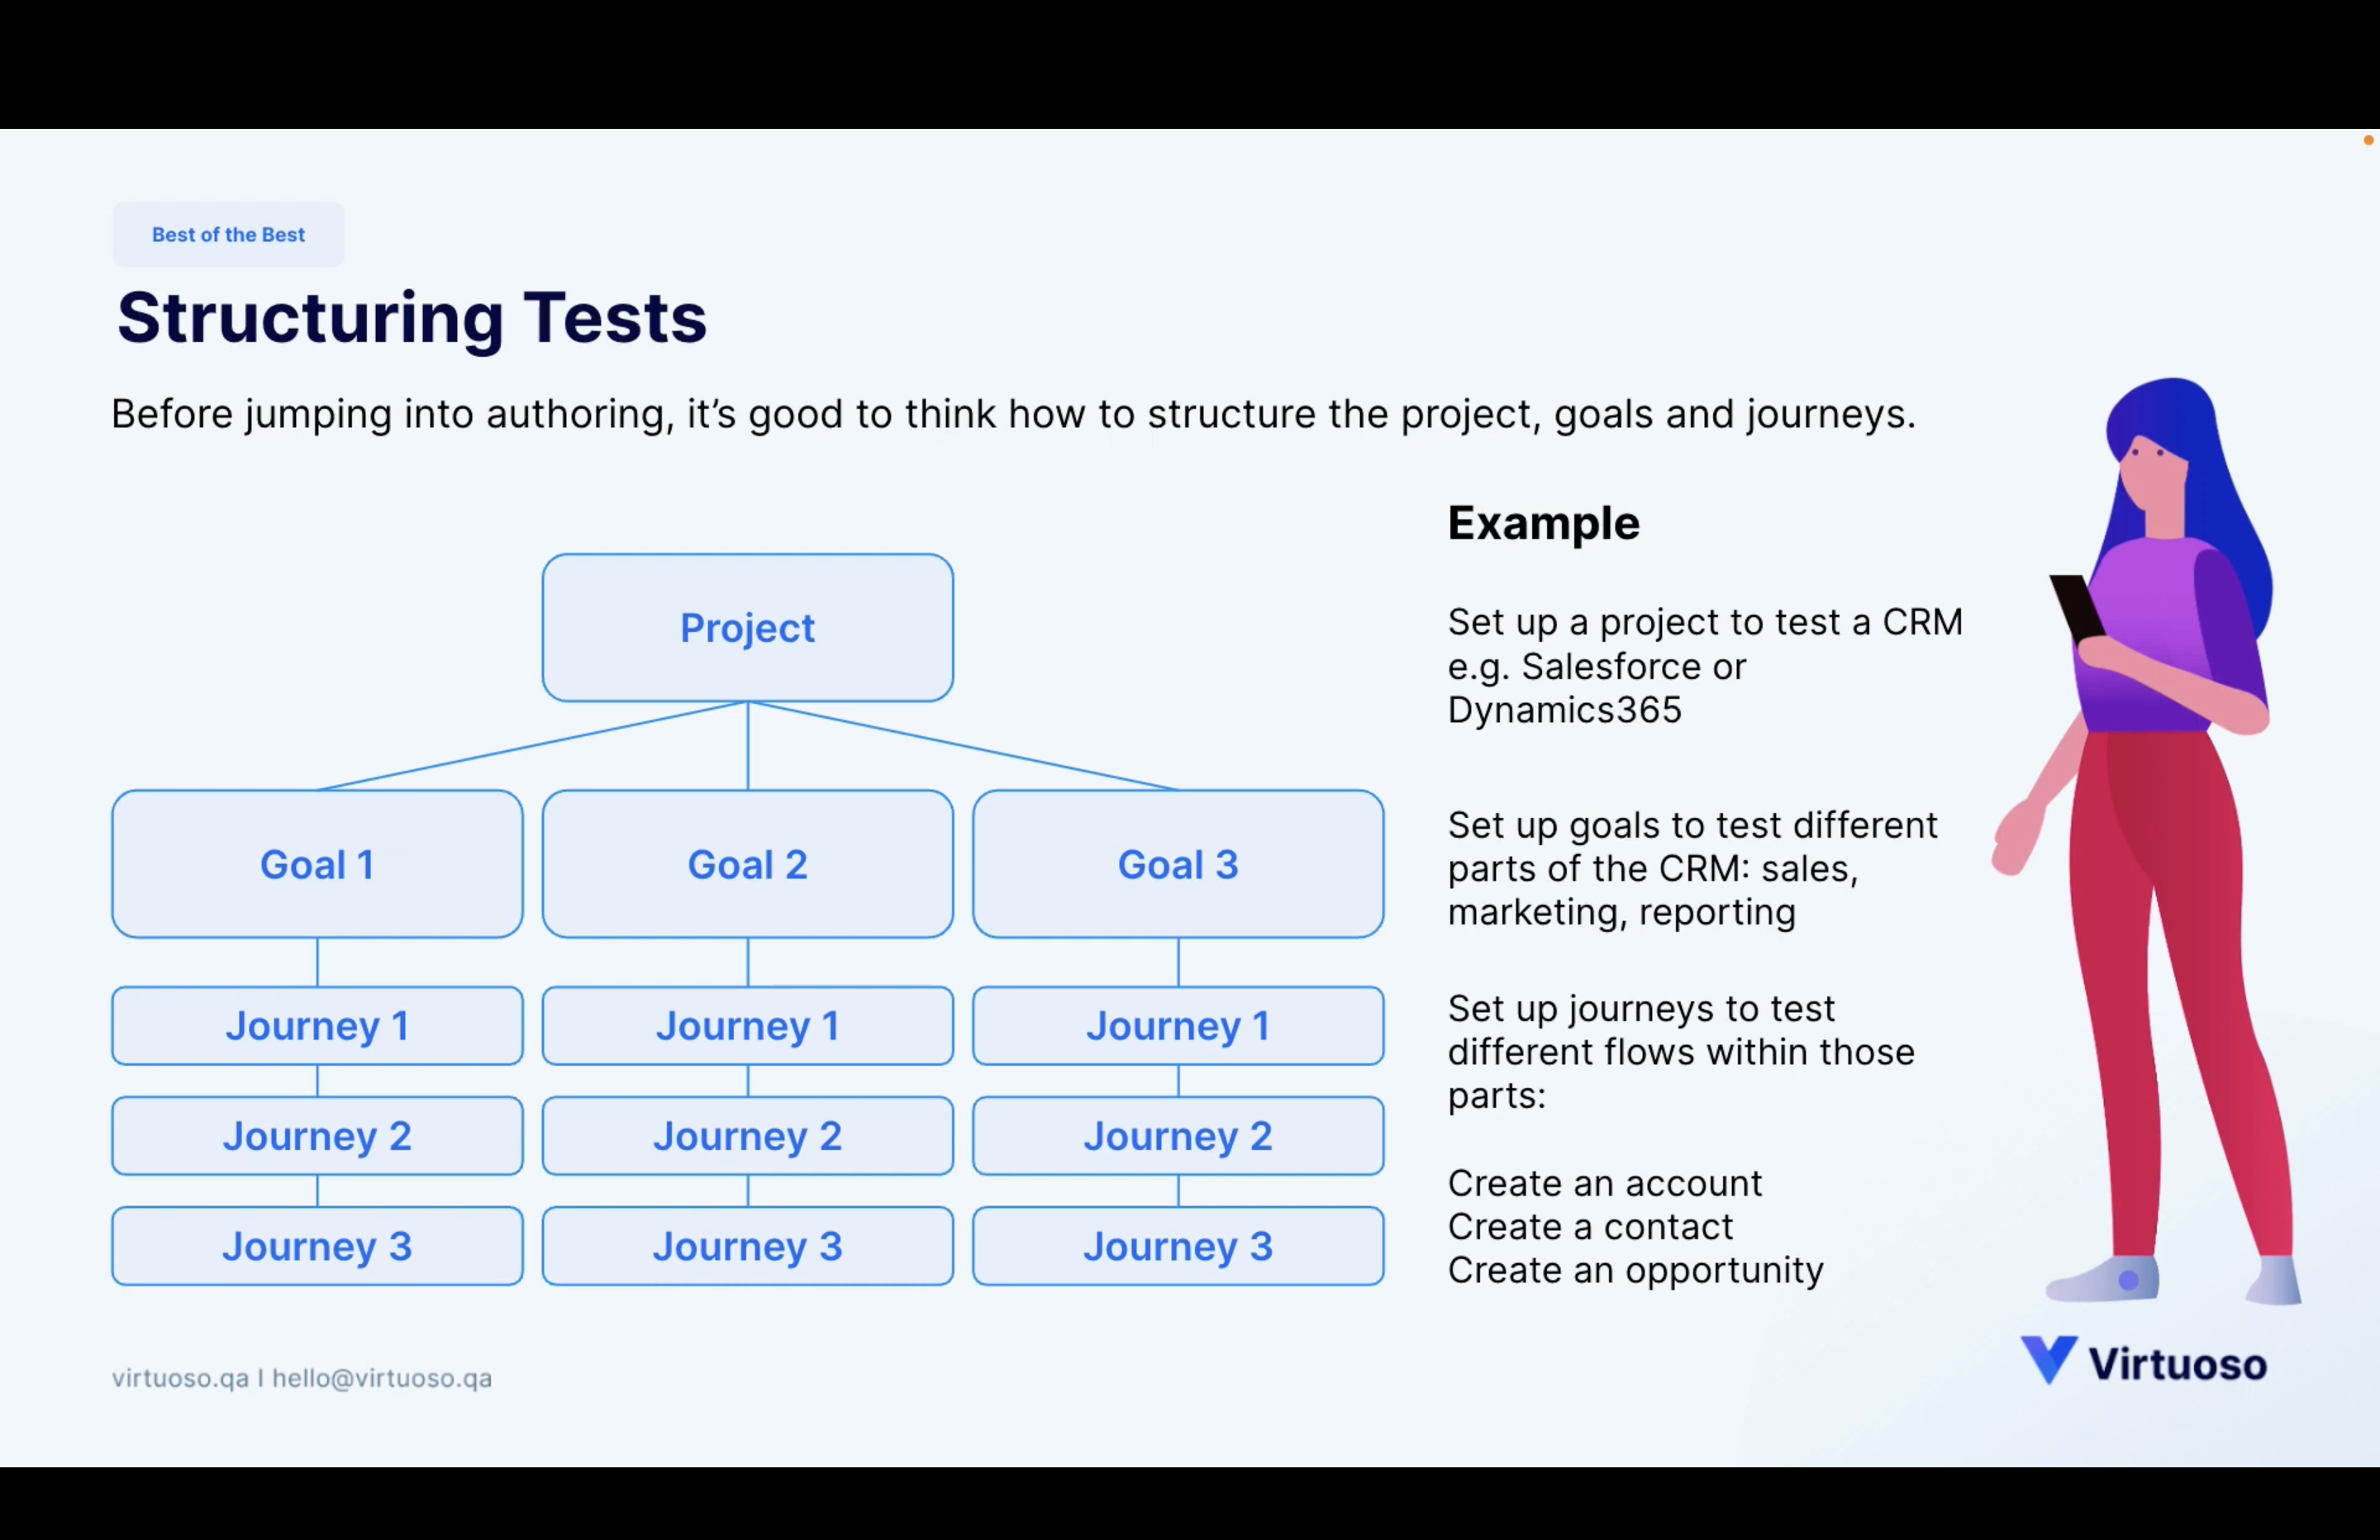
How to structure the test in Virtuoso
- A goal is defined to test the different modules/pages within the project and the goal will contain journeys that will perform the tests.
- Every Journey in a goal is defined as the single test case.
How to Get Started in Virtuoso
- Go to the Virtuoso Official Website Official Virtuoso QA Website
- Sign-in with your/organisation email address
- After registering/Sign-up, Login to the app
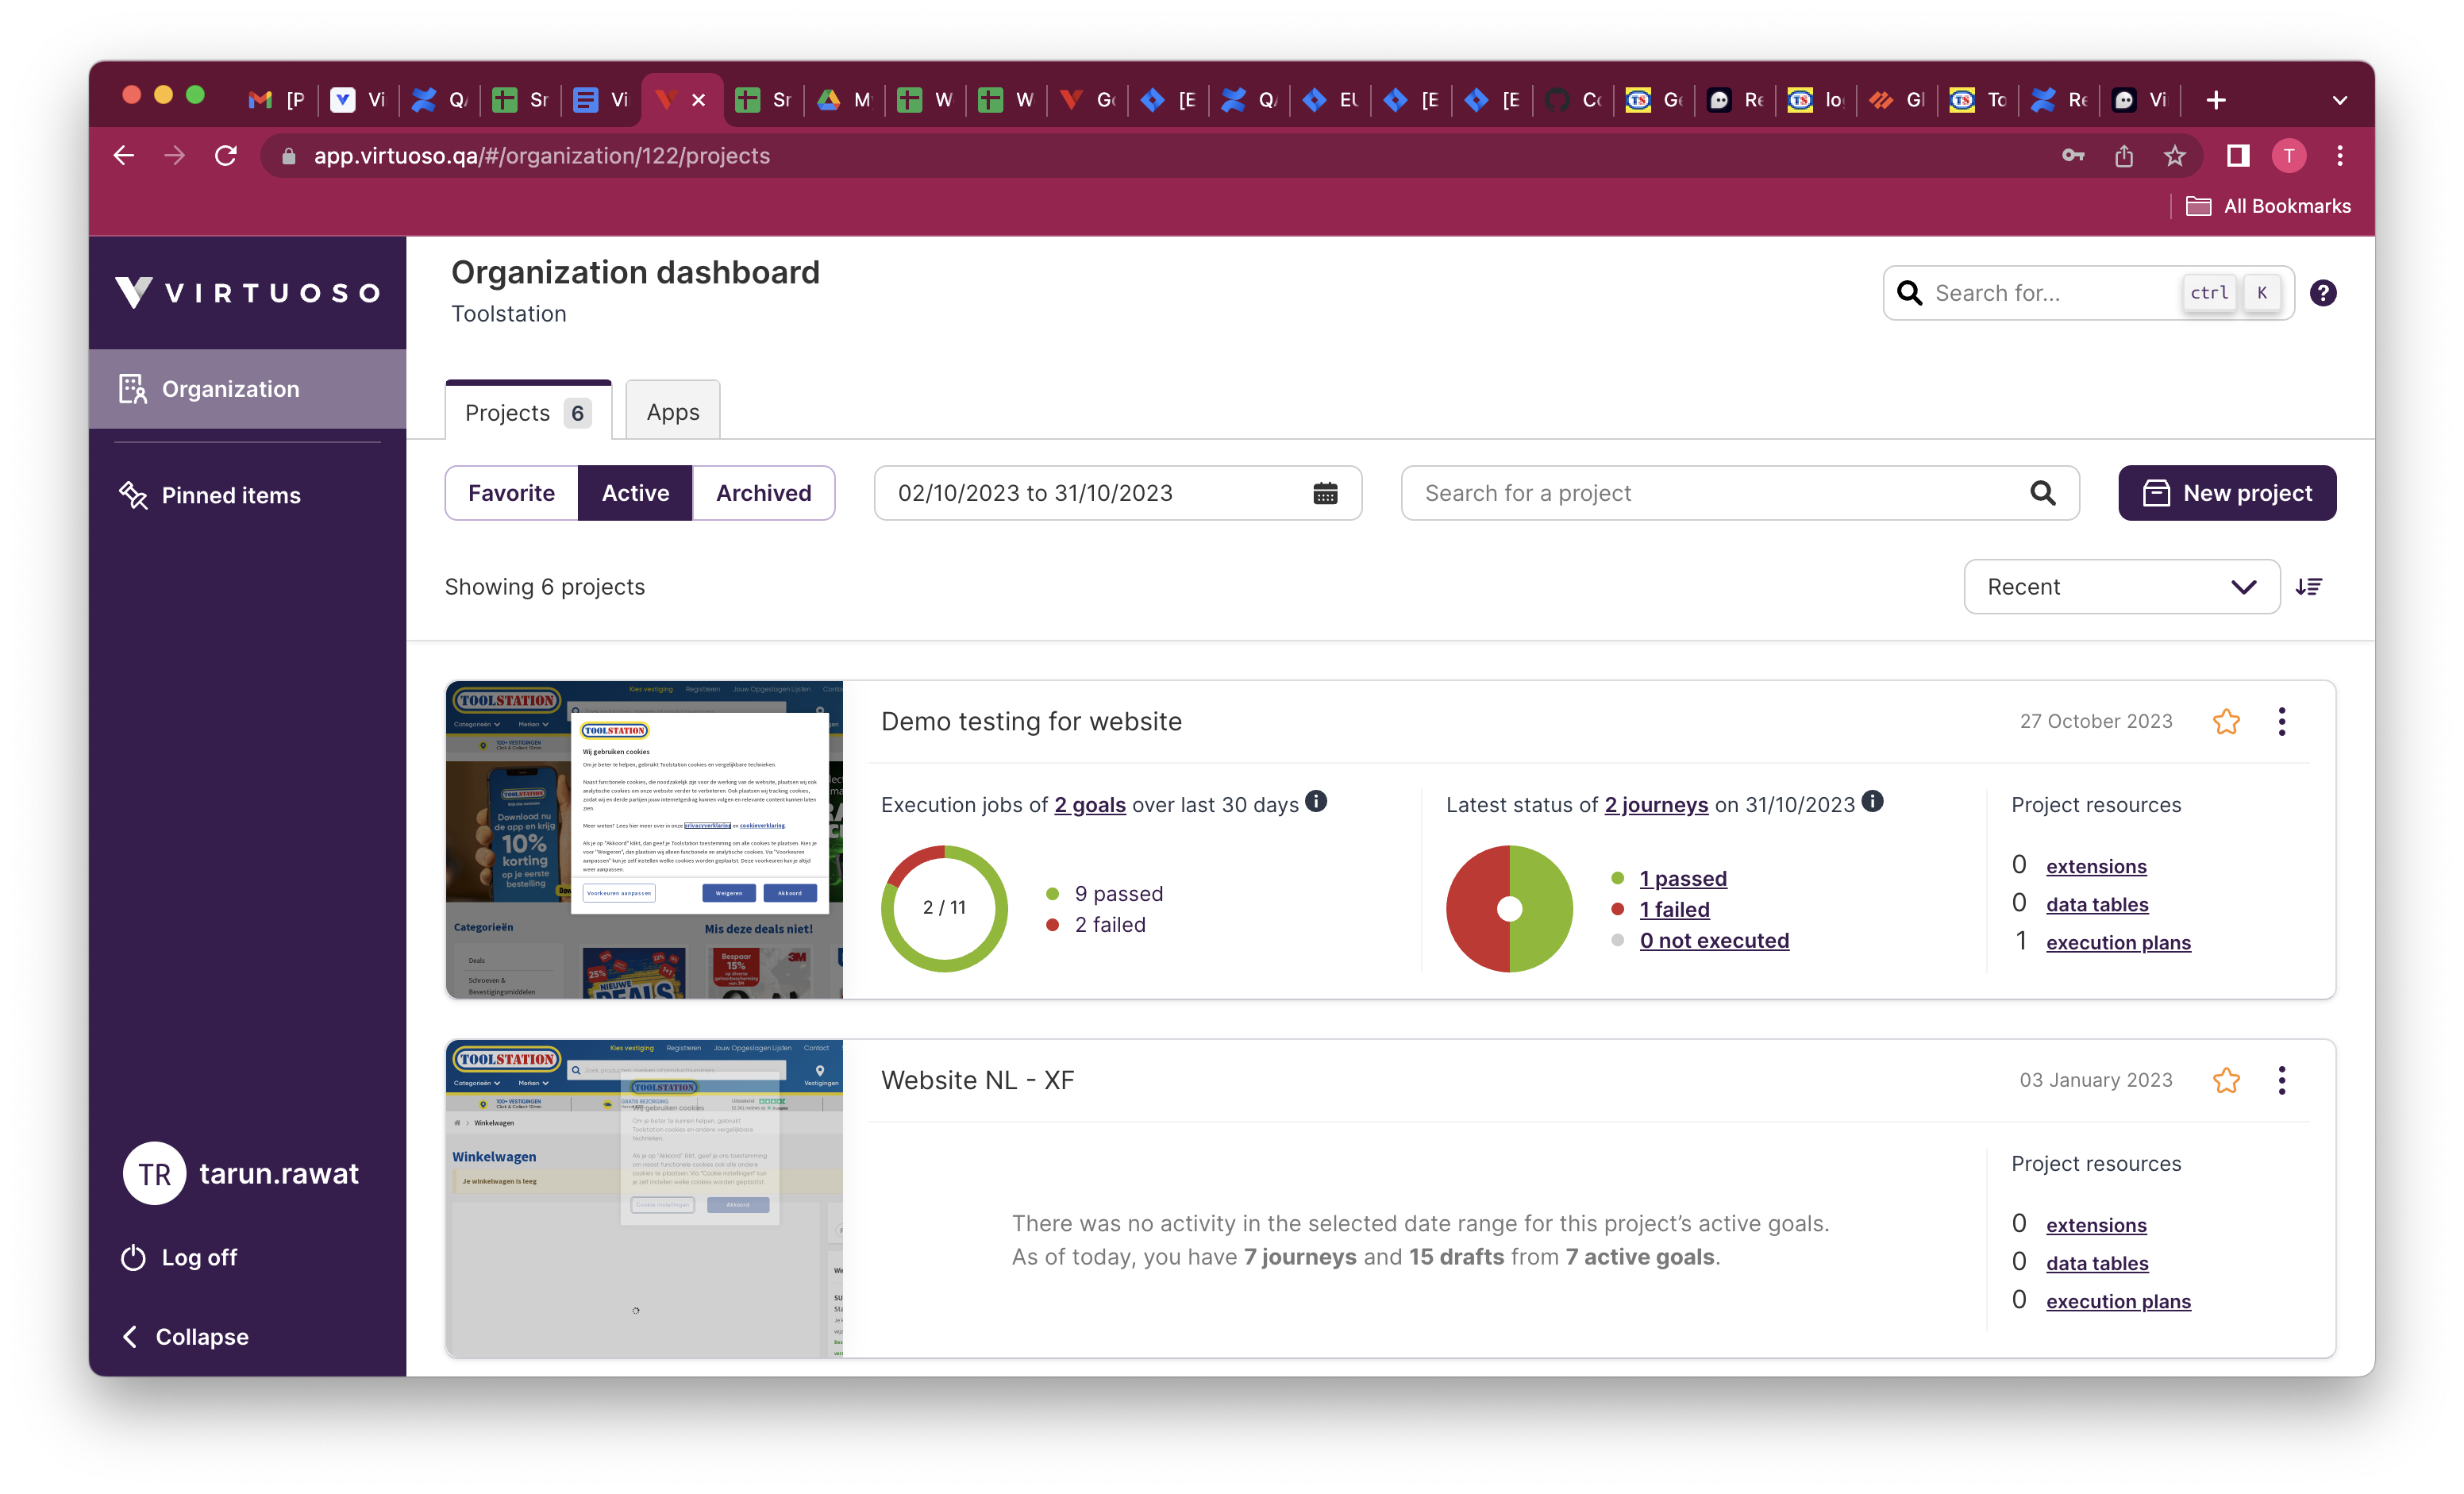
- You will land on the organisation dashboard where you can see your project.
Note
Link For Virtuoso Training Videos: https://training.virtuoso.qa/library/
Let's create a Project in Virtuoso
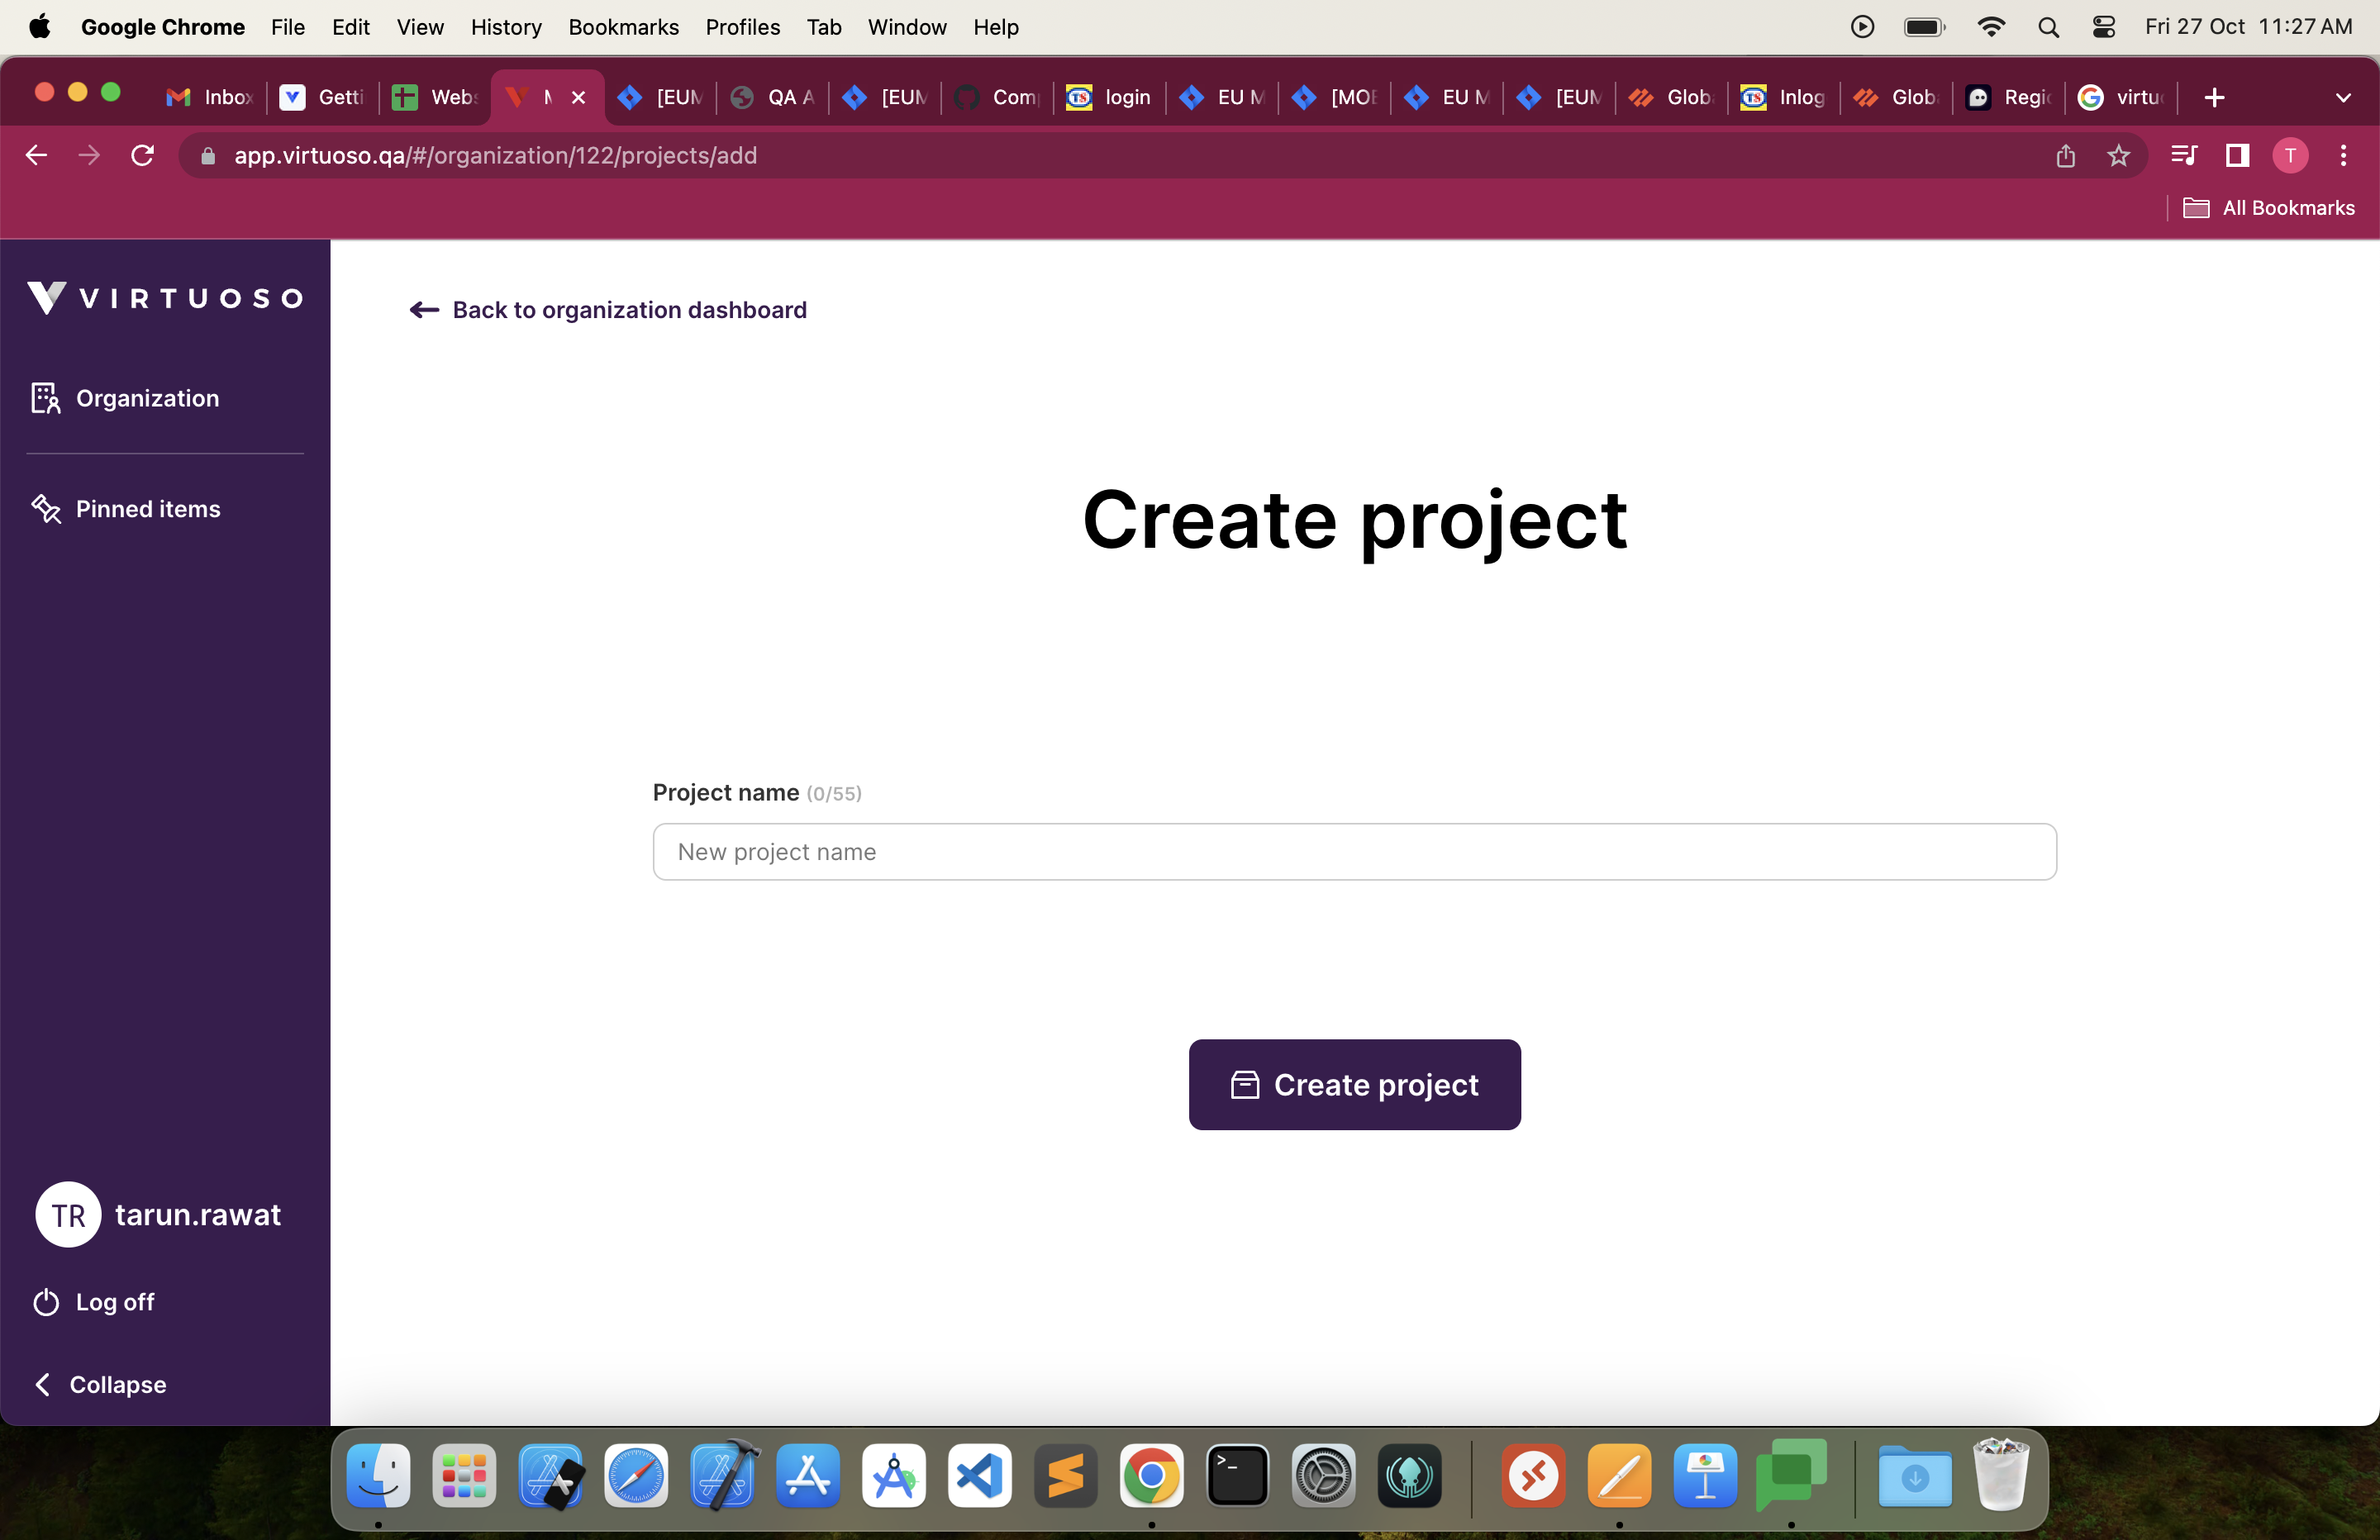
- Click on New Project.
- Enter the name of the project and click on create project.
- You can see your Project in the dashboard.
Note
After Creating the Project then only the goal can be created for that project.
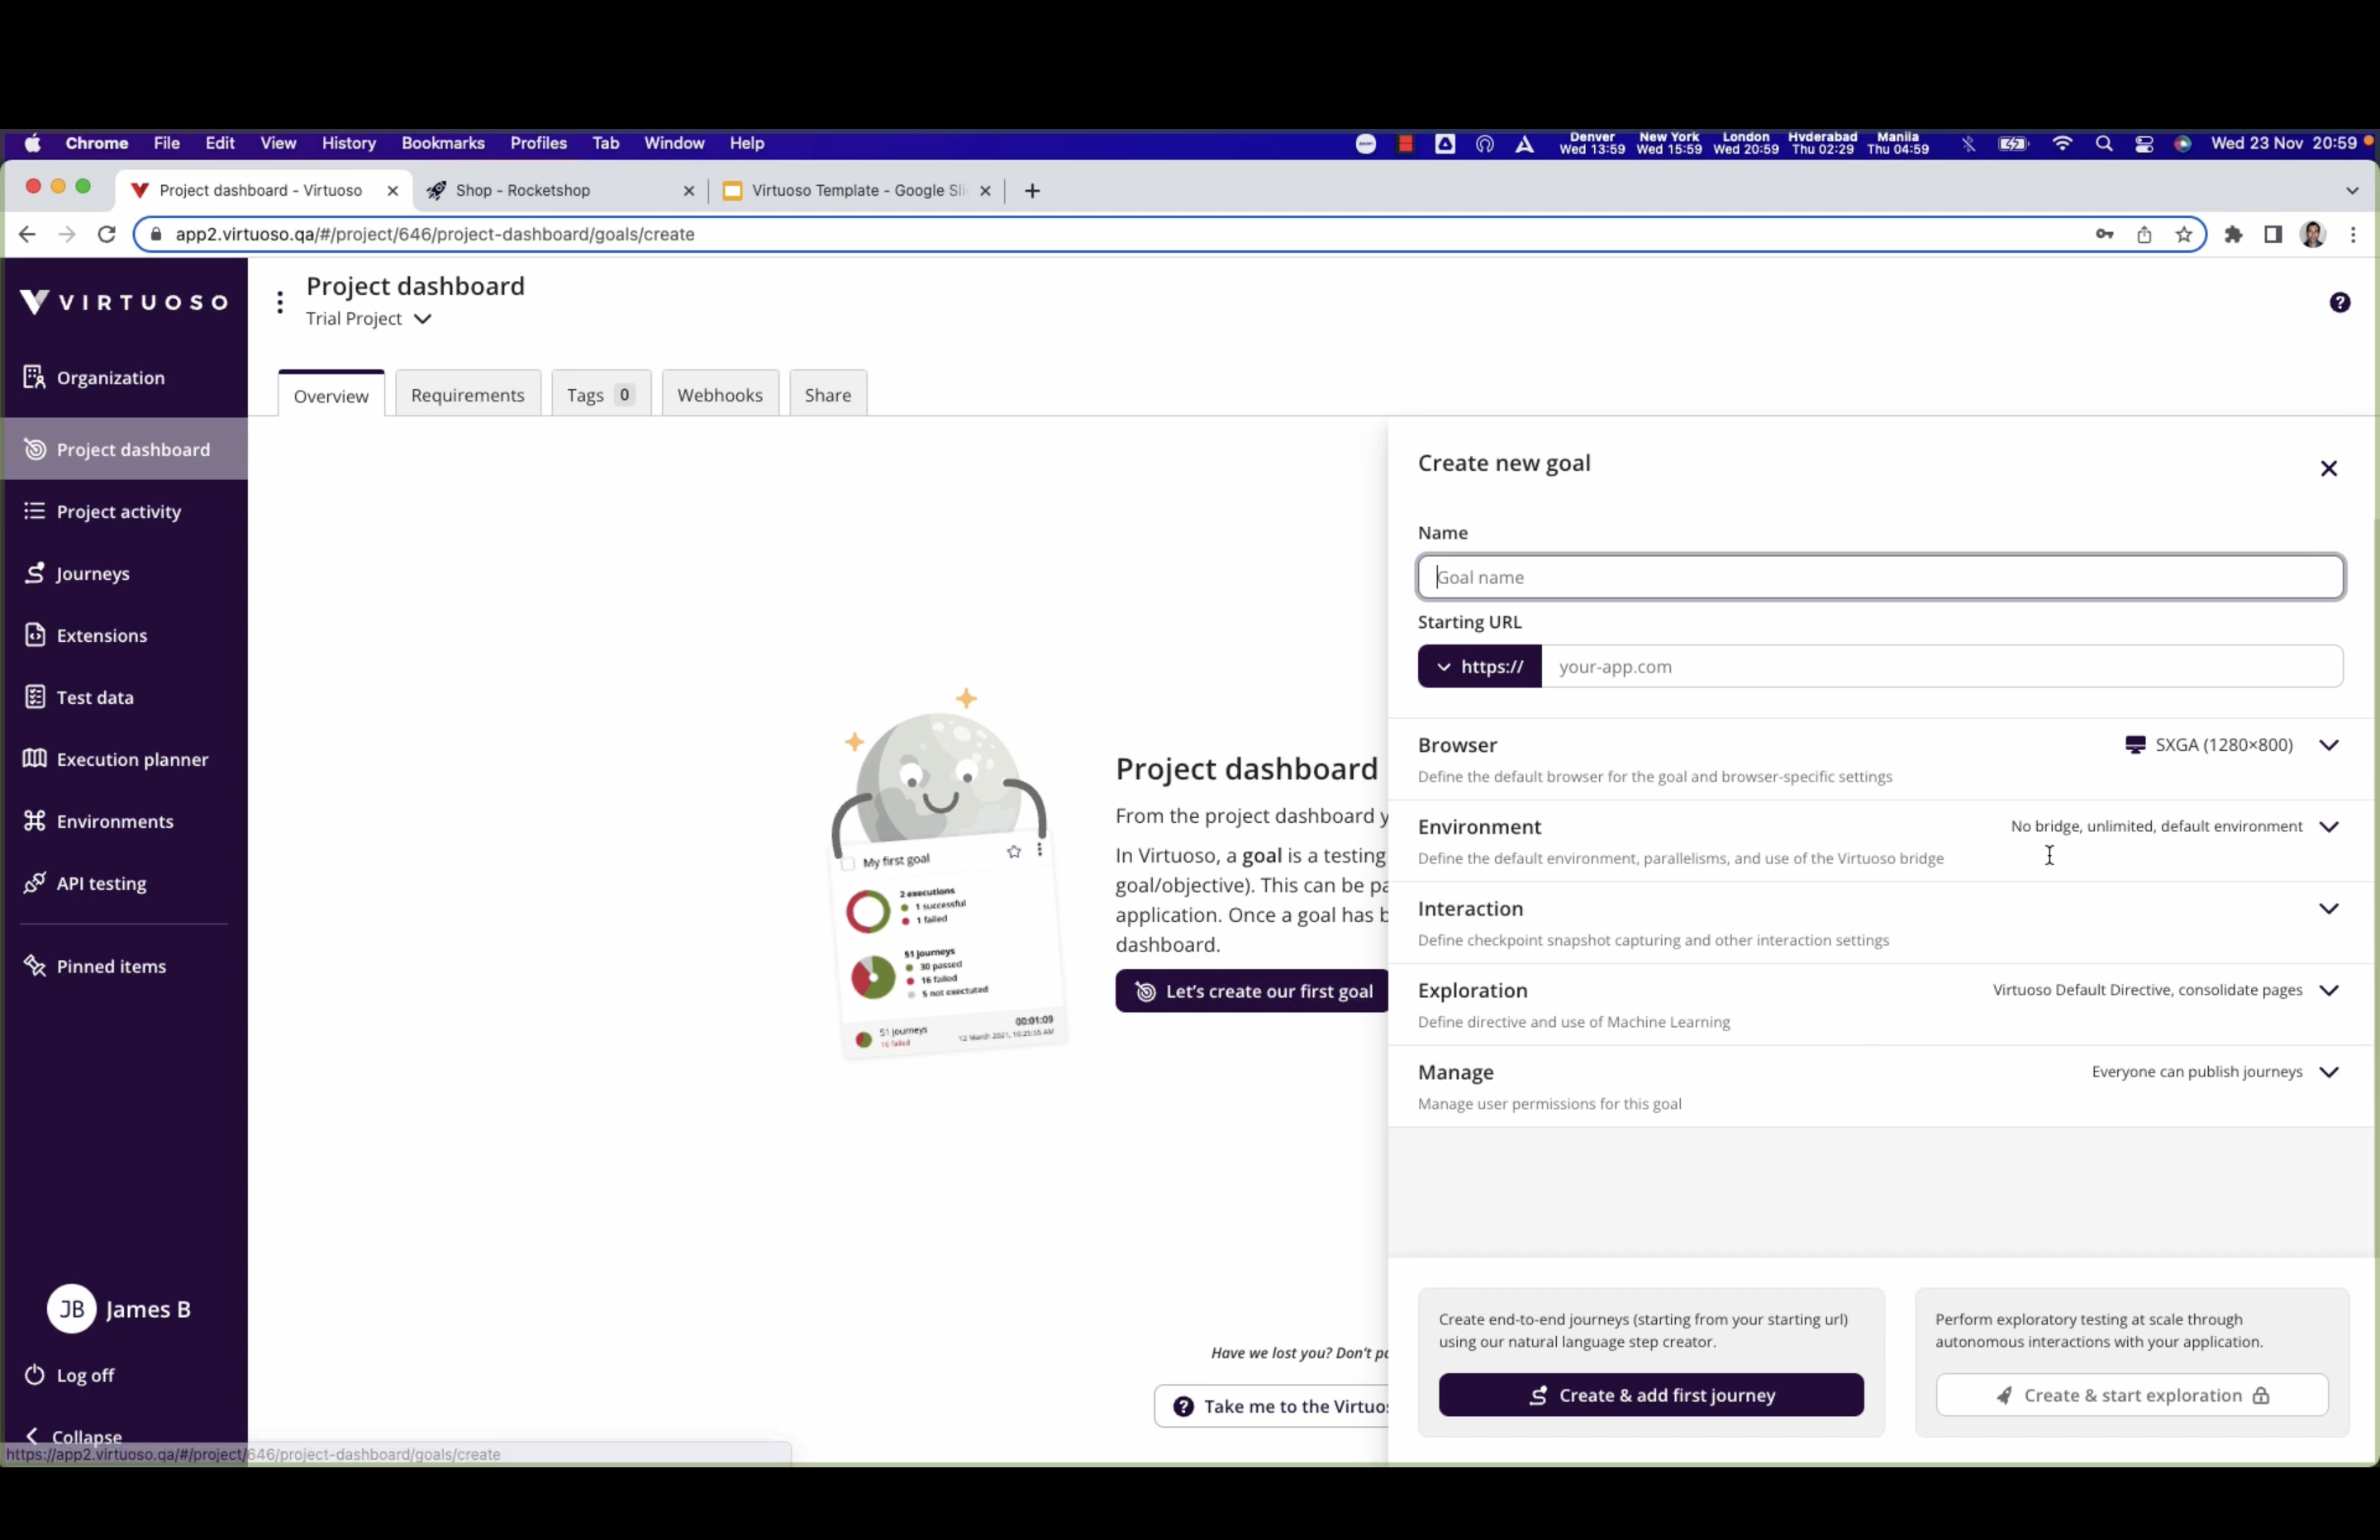
Let's create a Goal in Virtuoso
- Enter the name of your goal (For Eg. Demo Goal)
- Put the starting/testing URL (For Eg. http://www.toolstation.nl)
- Click on create and add your first journey
Journey and Checkpoint
- After clicking on create and add your first journey then your journey name will be created as First Journey (Default) and you can change the name your journey by clicking on it.
- The First checkpoint will always be your Starting URL that you given while creating the goal and it contain a Navigate command that will take the user to starting URL.
Note
- Adding the journey which will act as a test cases/scenarios. - Checkpoint will act as test step that will break the journey into section. You can use these checkpoint again in your journeys/test cases.
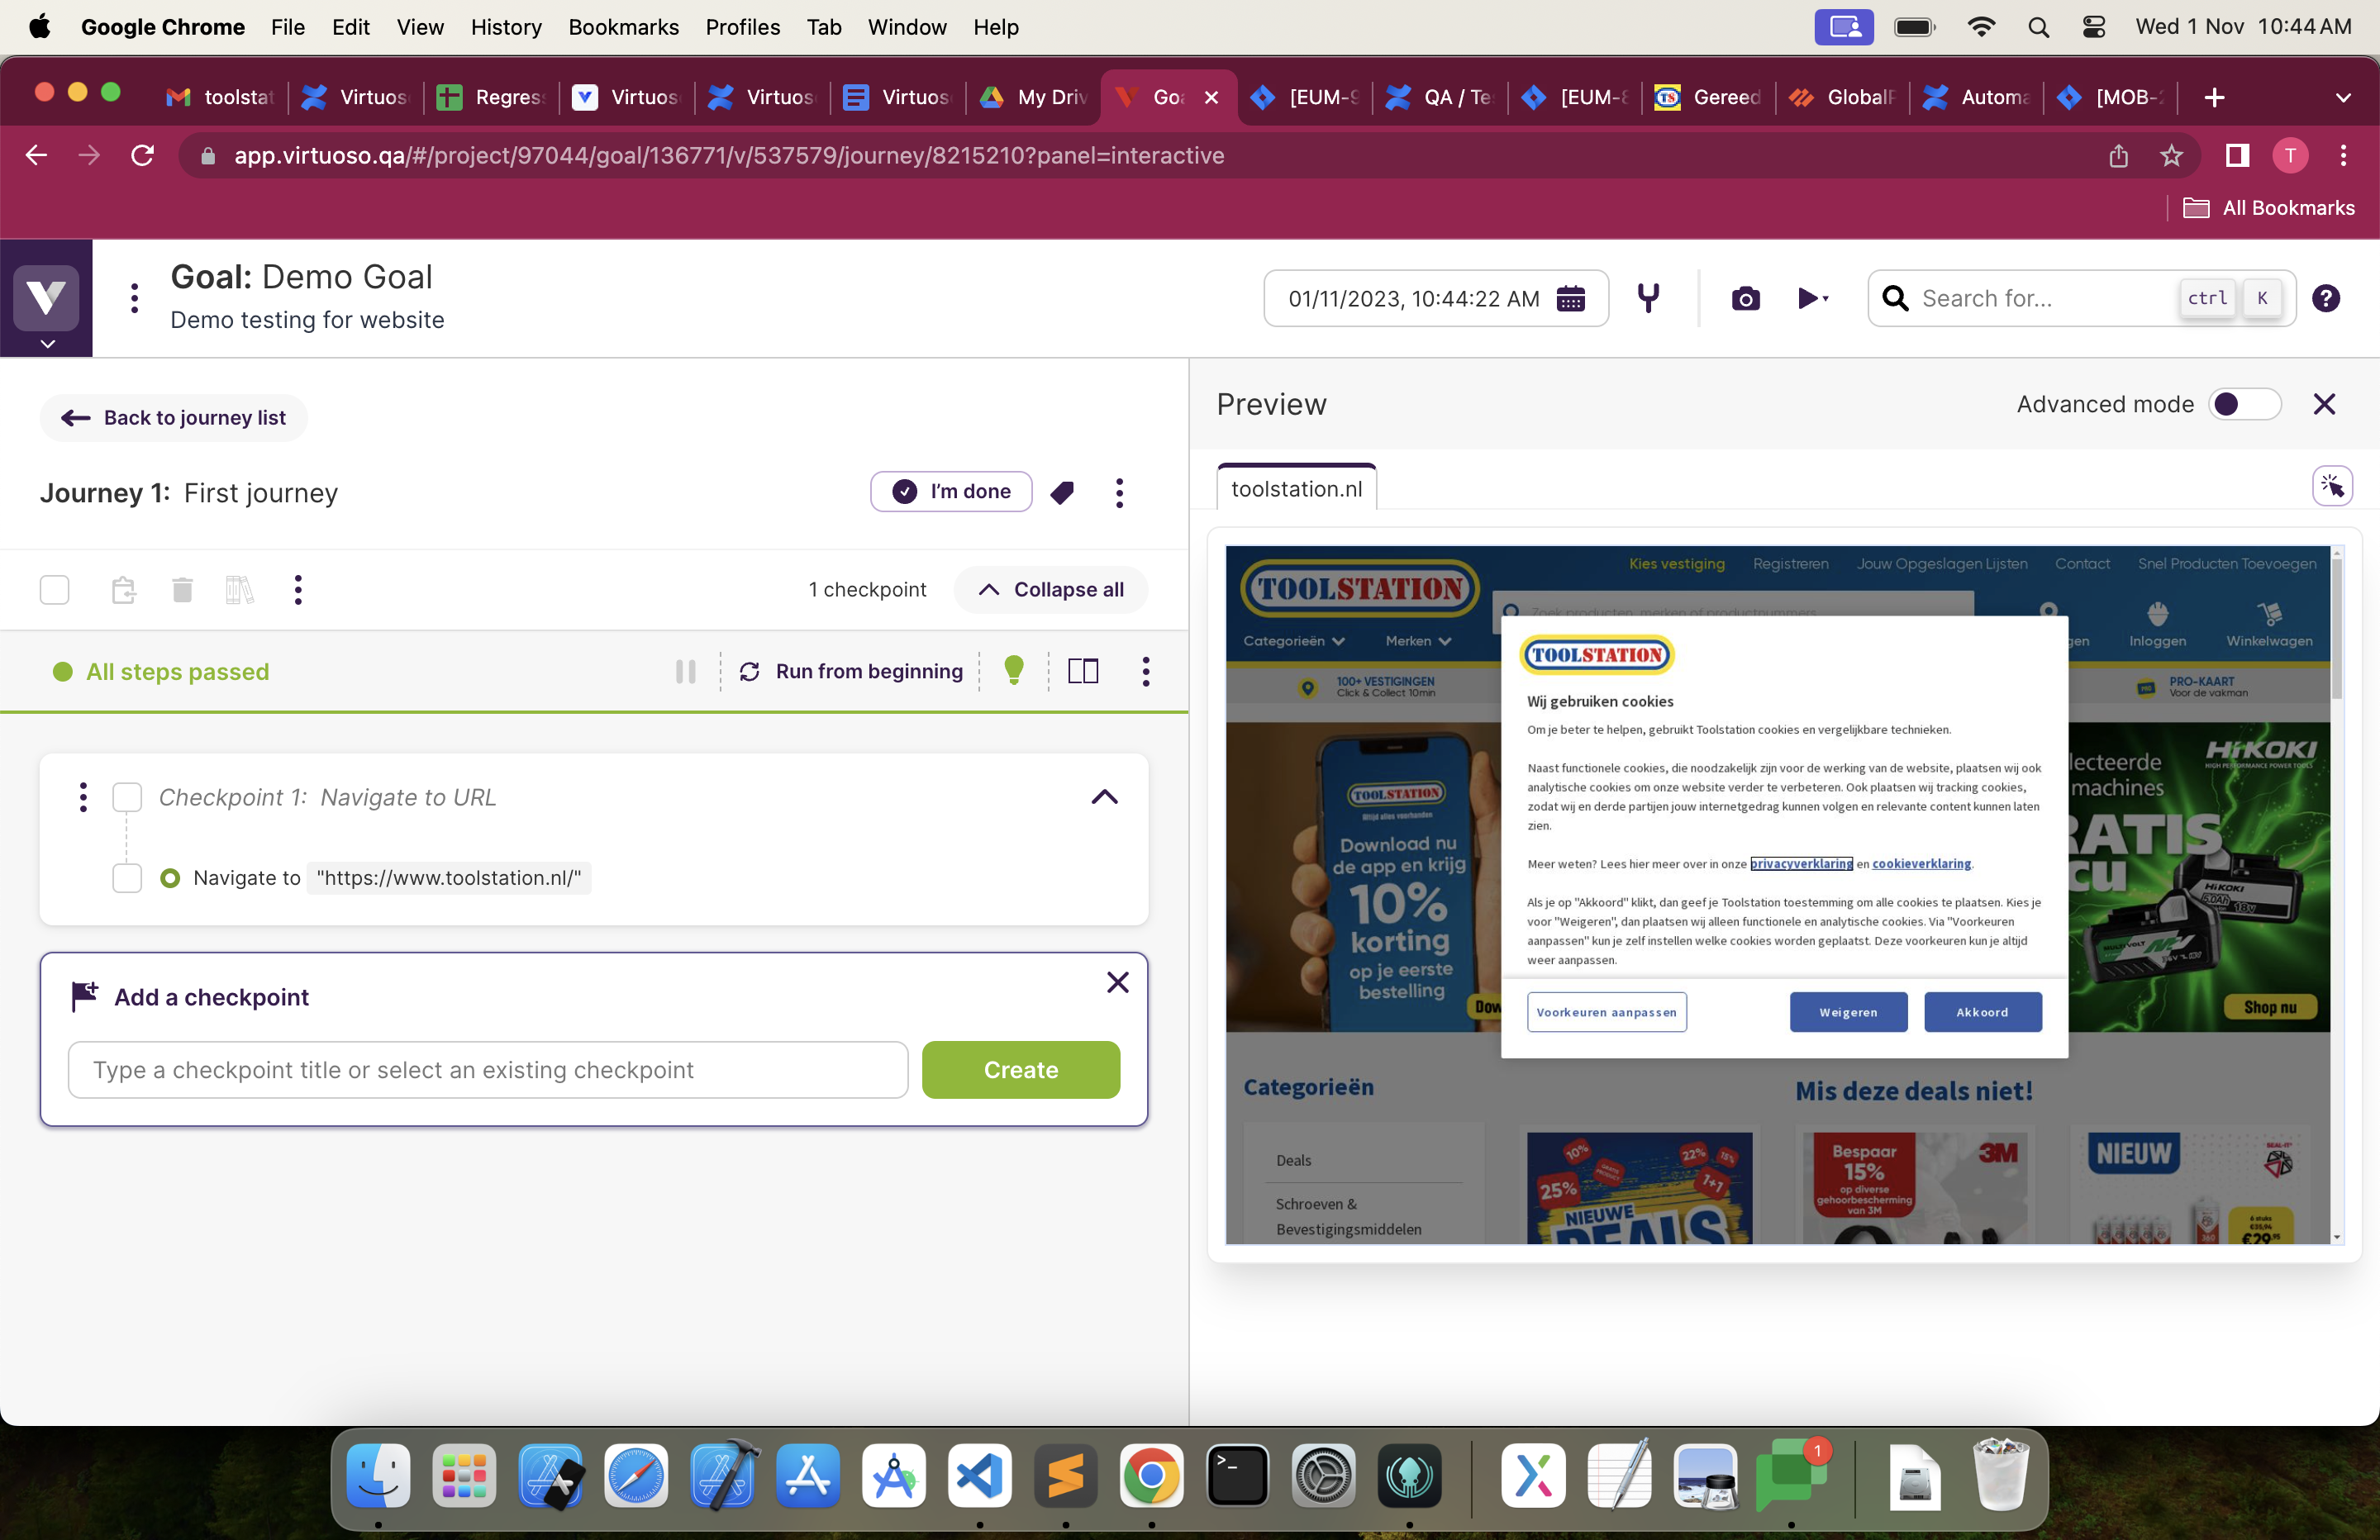
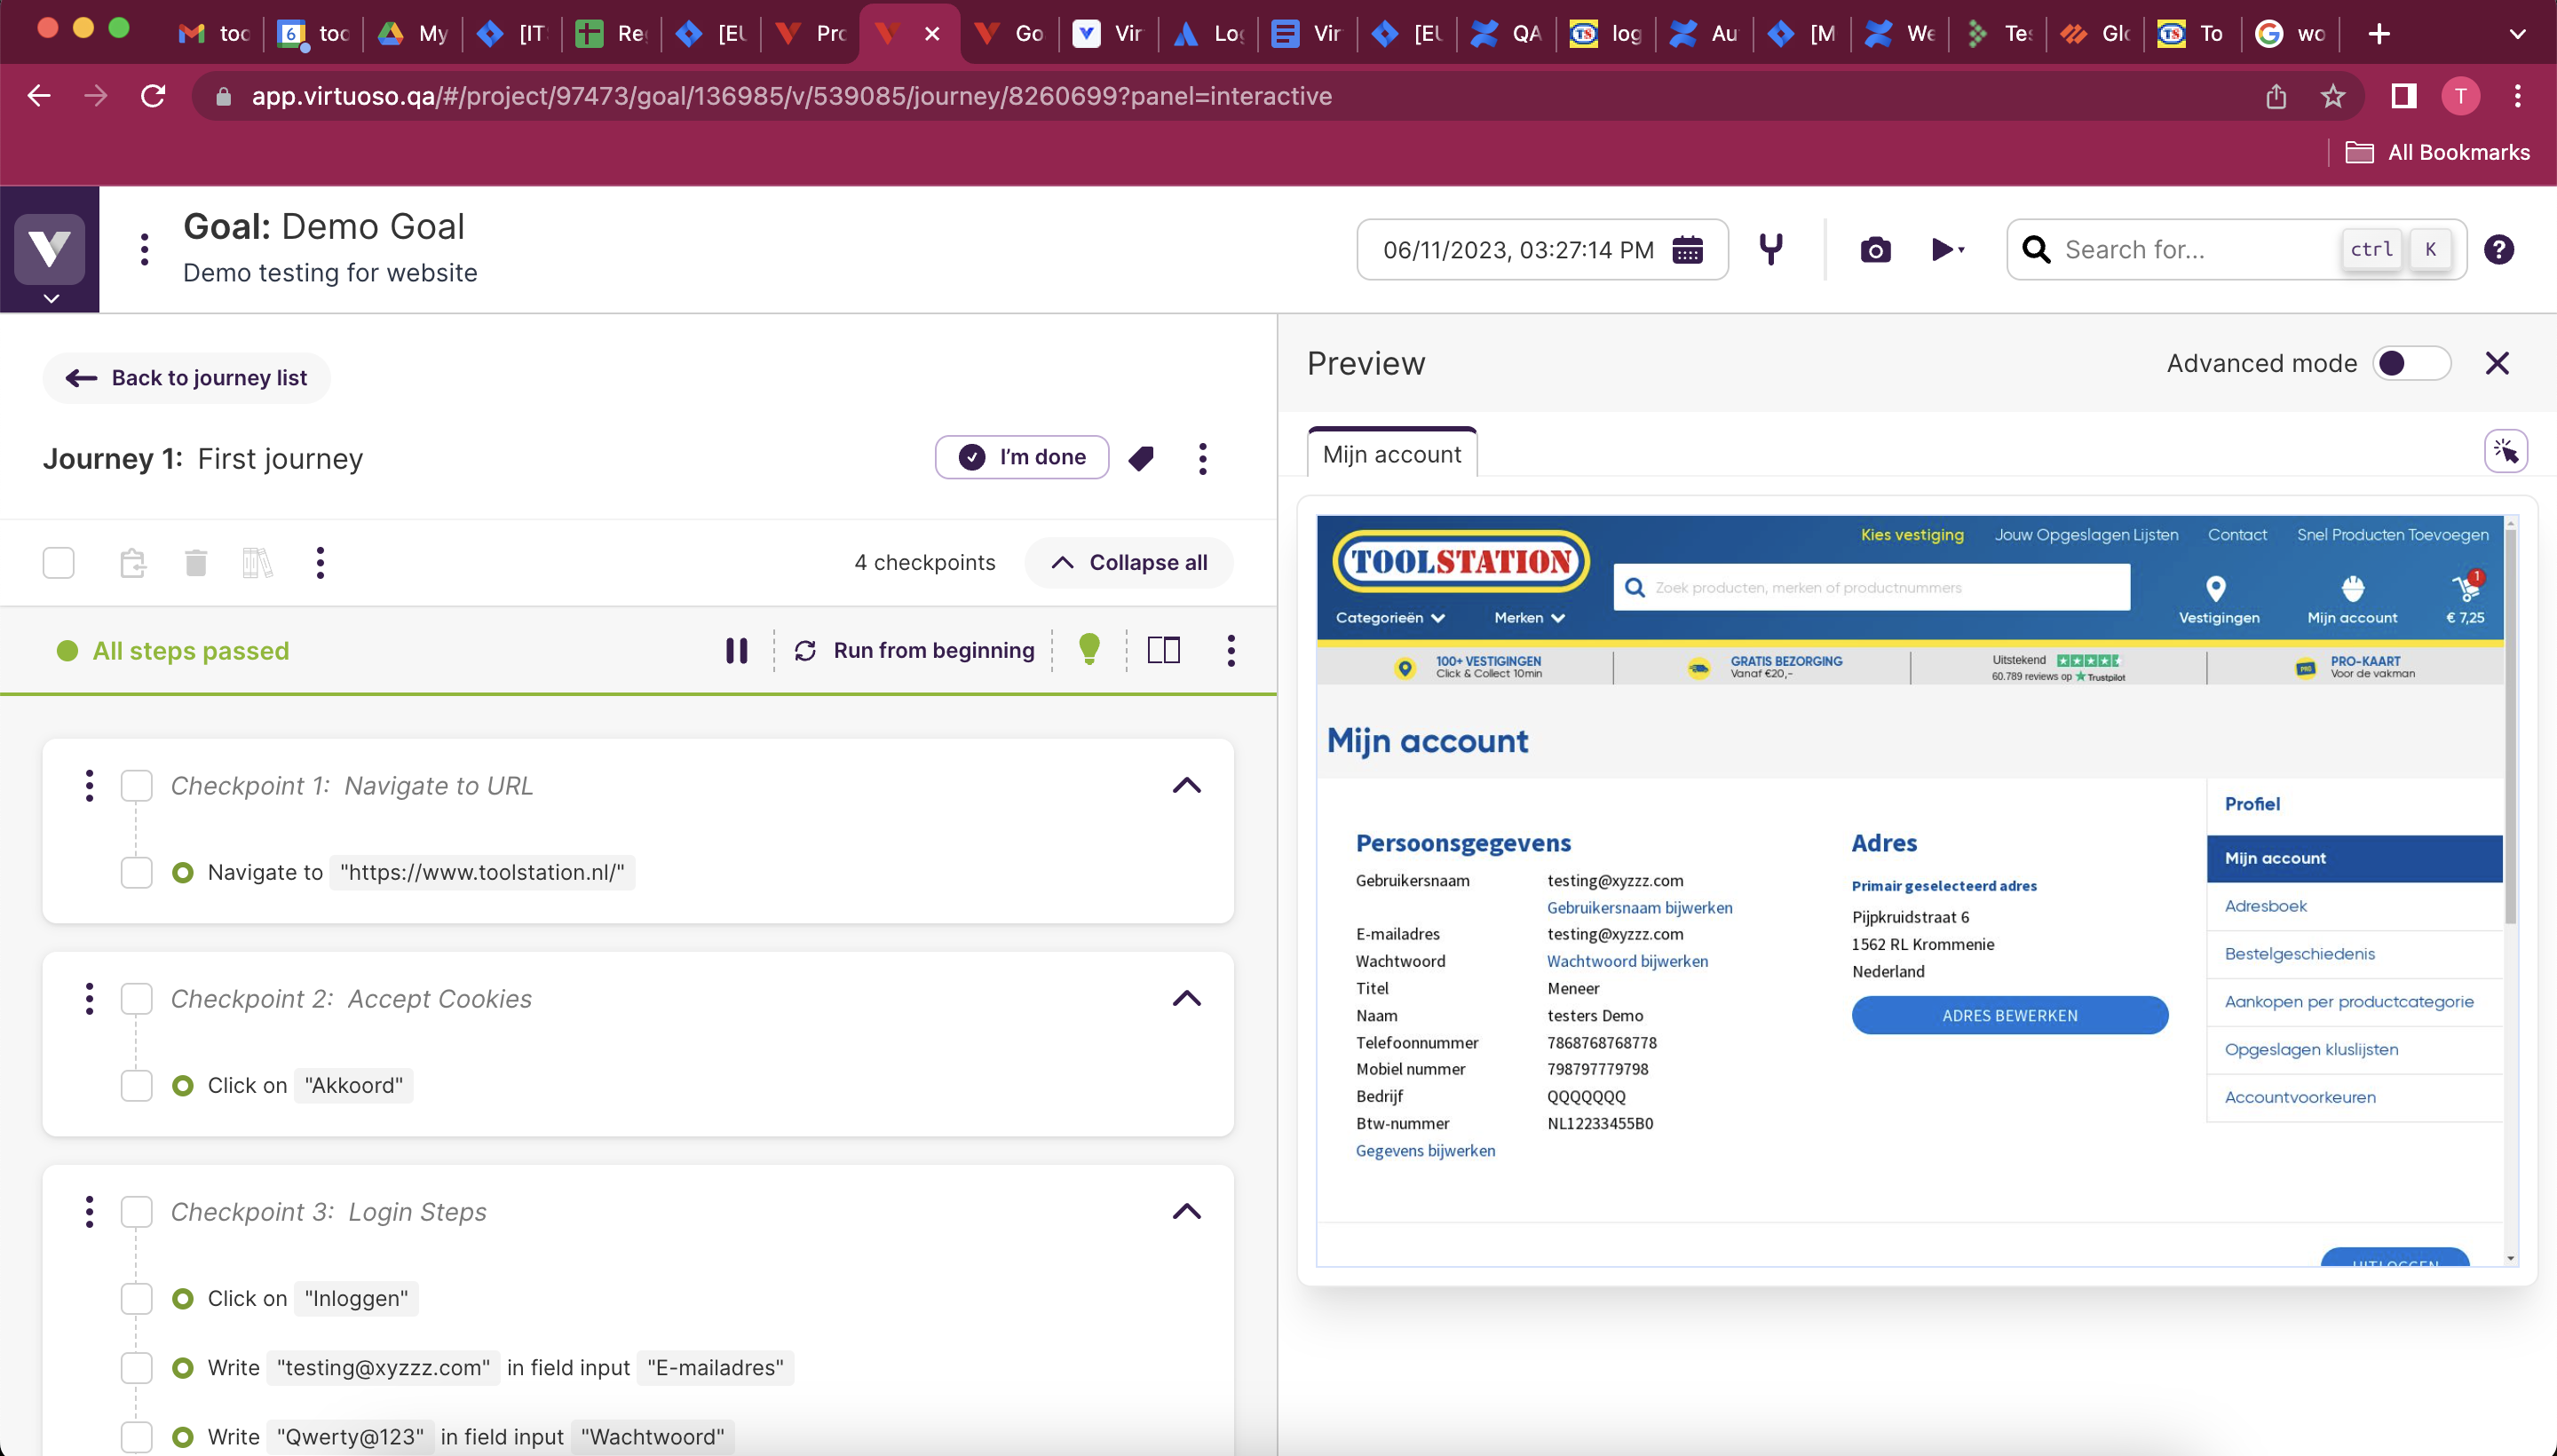
Let's Create & Run our First Test Script/Journey
- Type the name of the checkpoint which will act as name of you test steps and click on create button(as shown in picture above).
- For eg. as shown below in picture 'Accept Cookies' is the name of the checkpoint and the content that it is storing is the test steps.
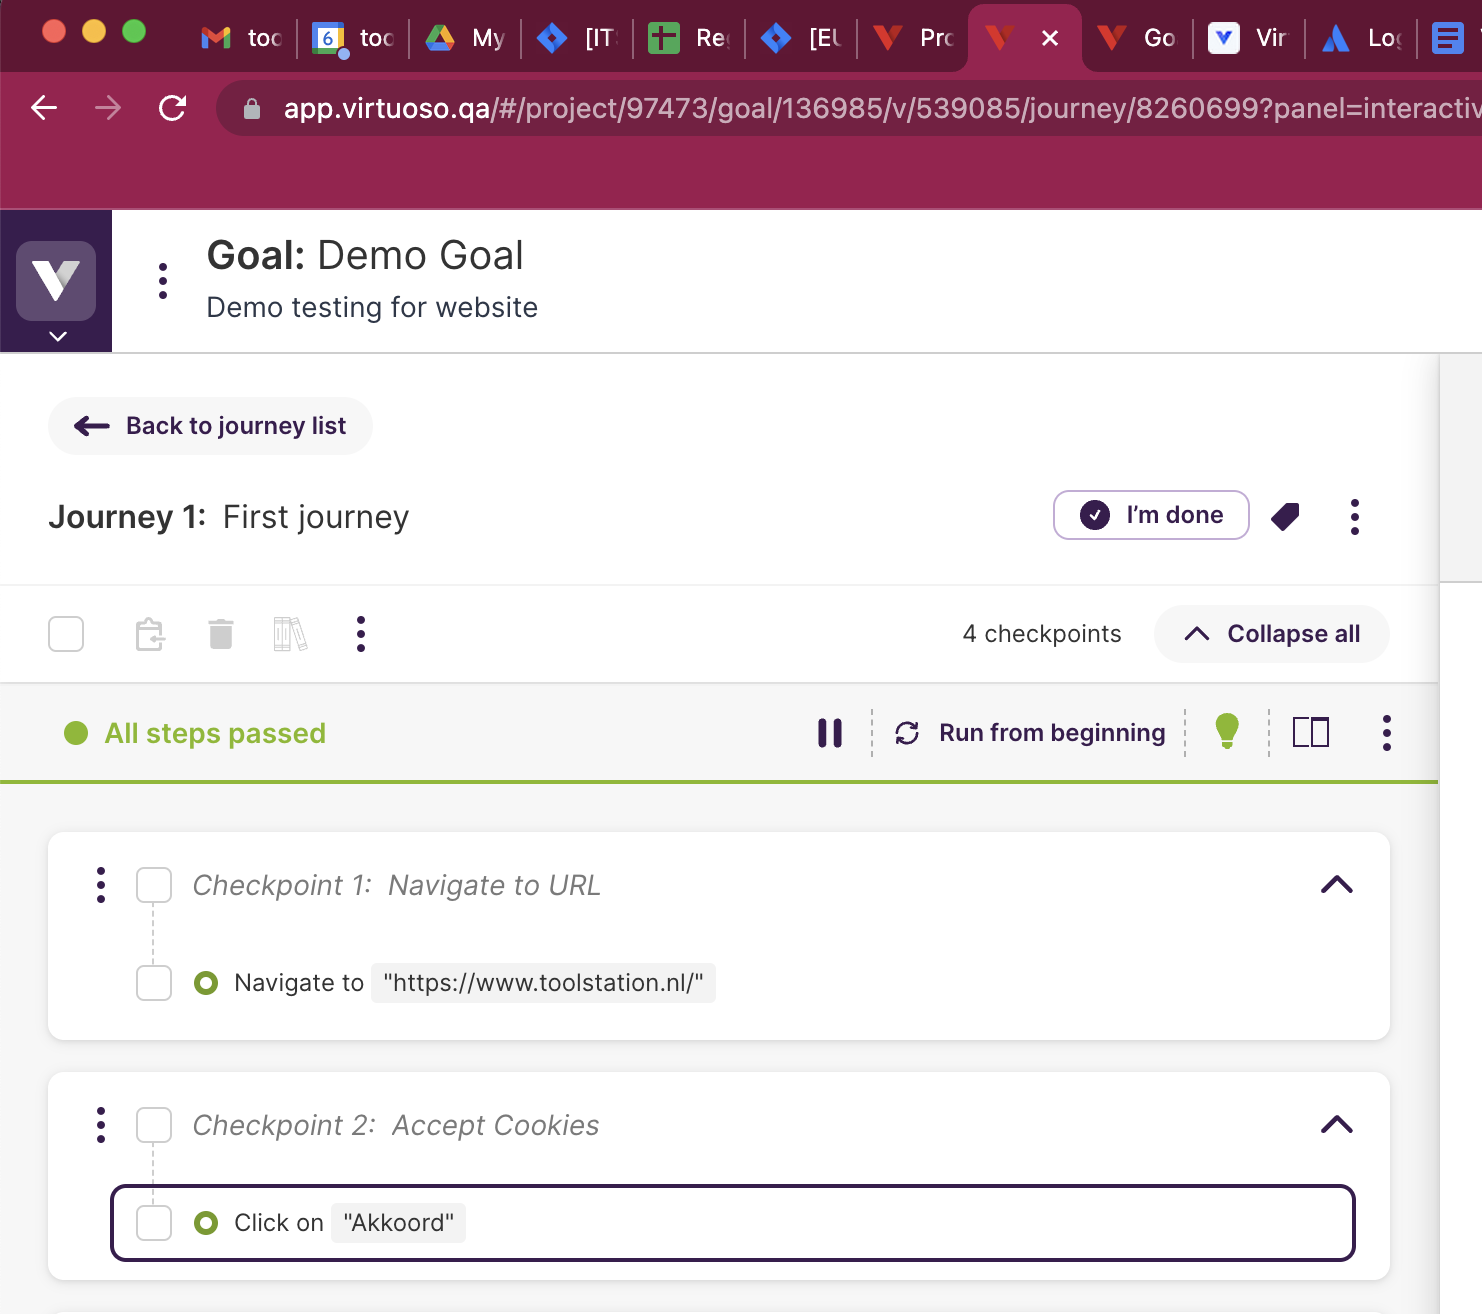
Commands in Virtuoso
- Click : It is used to click any web element. For Eg. Click on 'Akkoord'
- Write : It is used to write any text or character inside the textfield. For Eg. Write "EmailID_name" in field input "E-mailadres" (Shown below in Checkpoint 3)
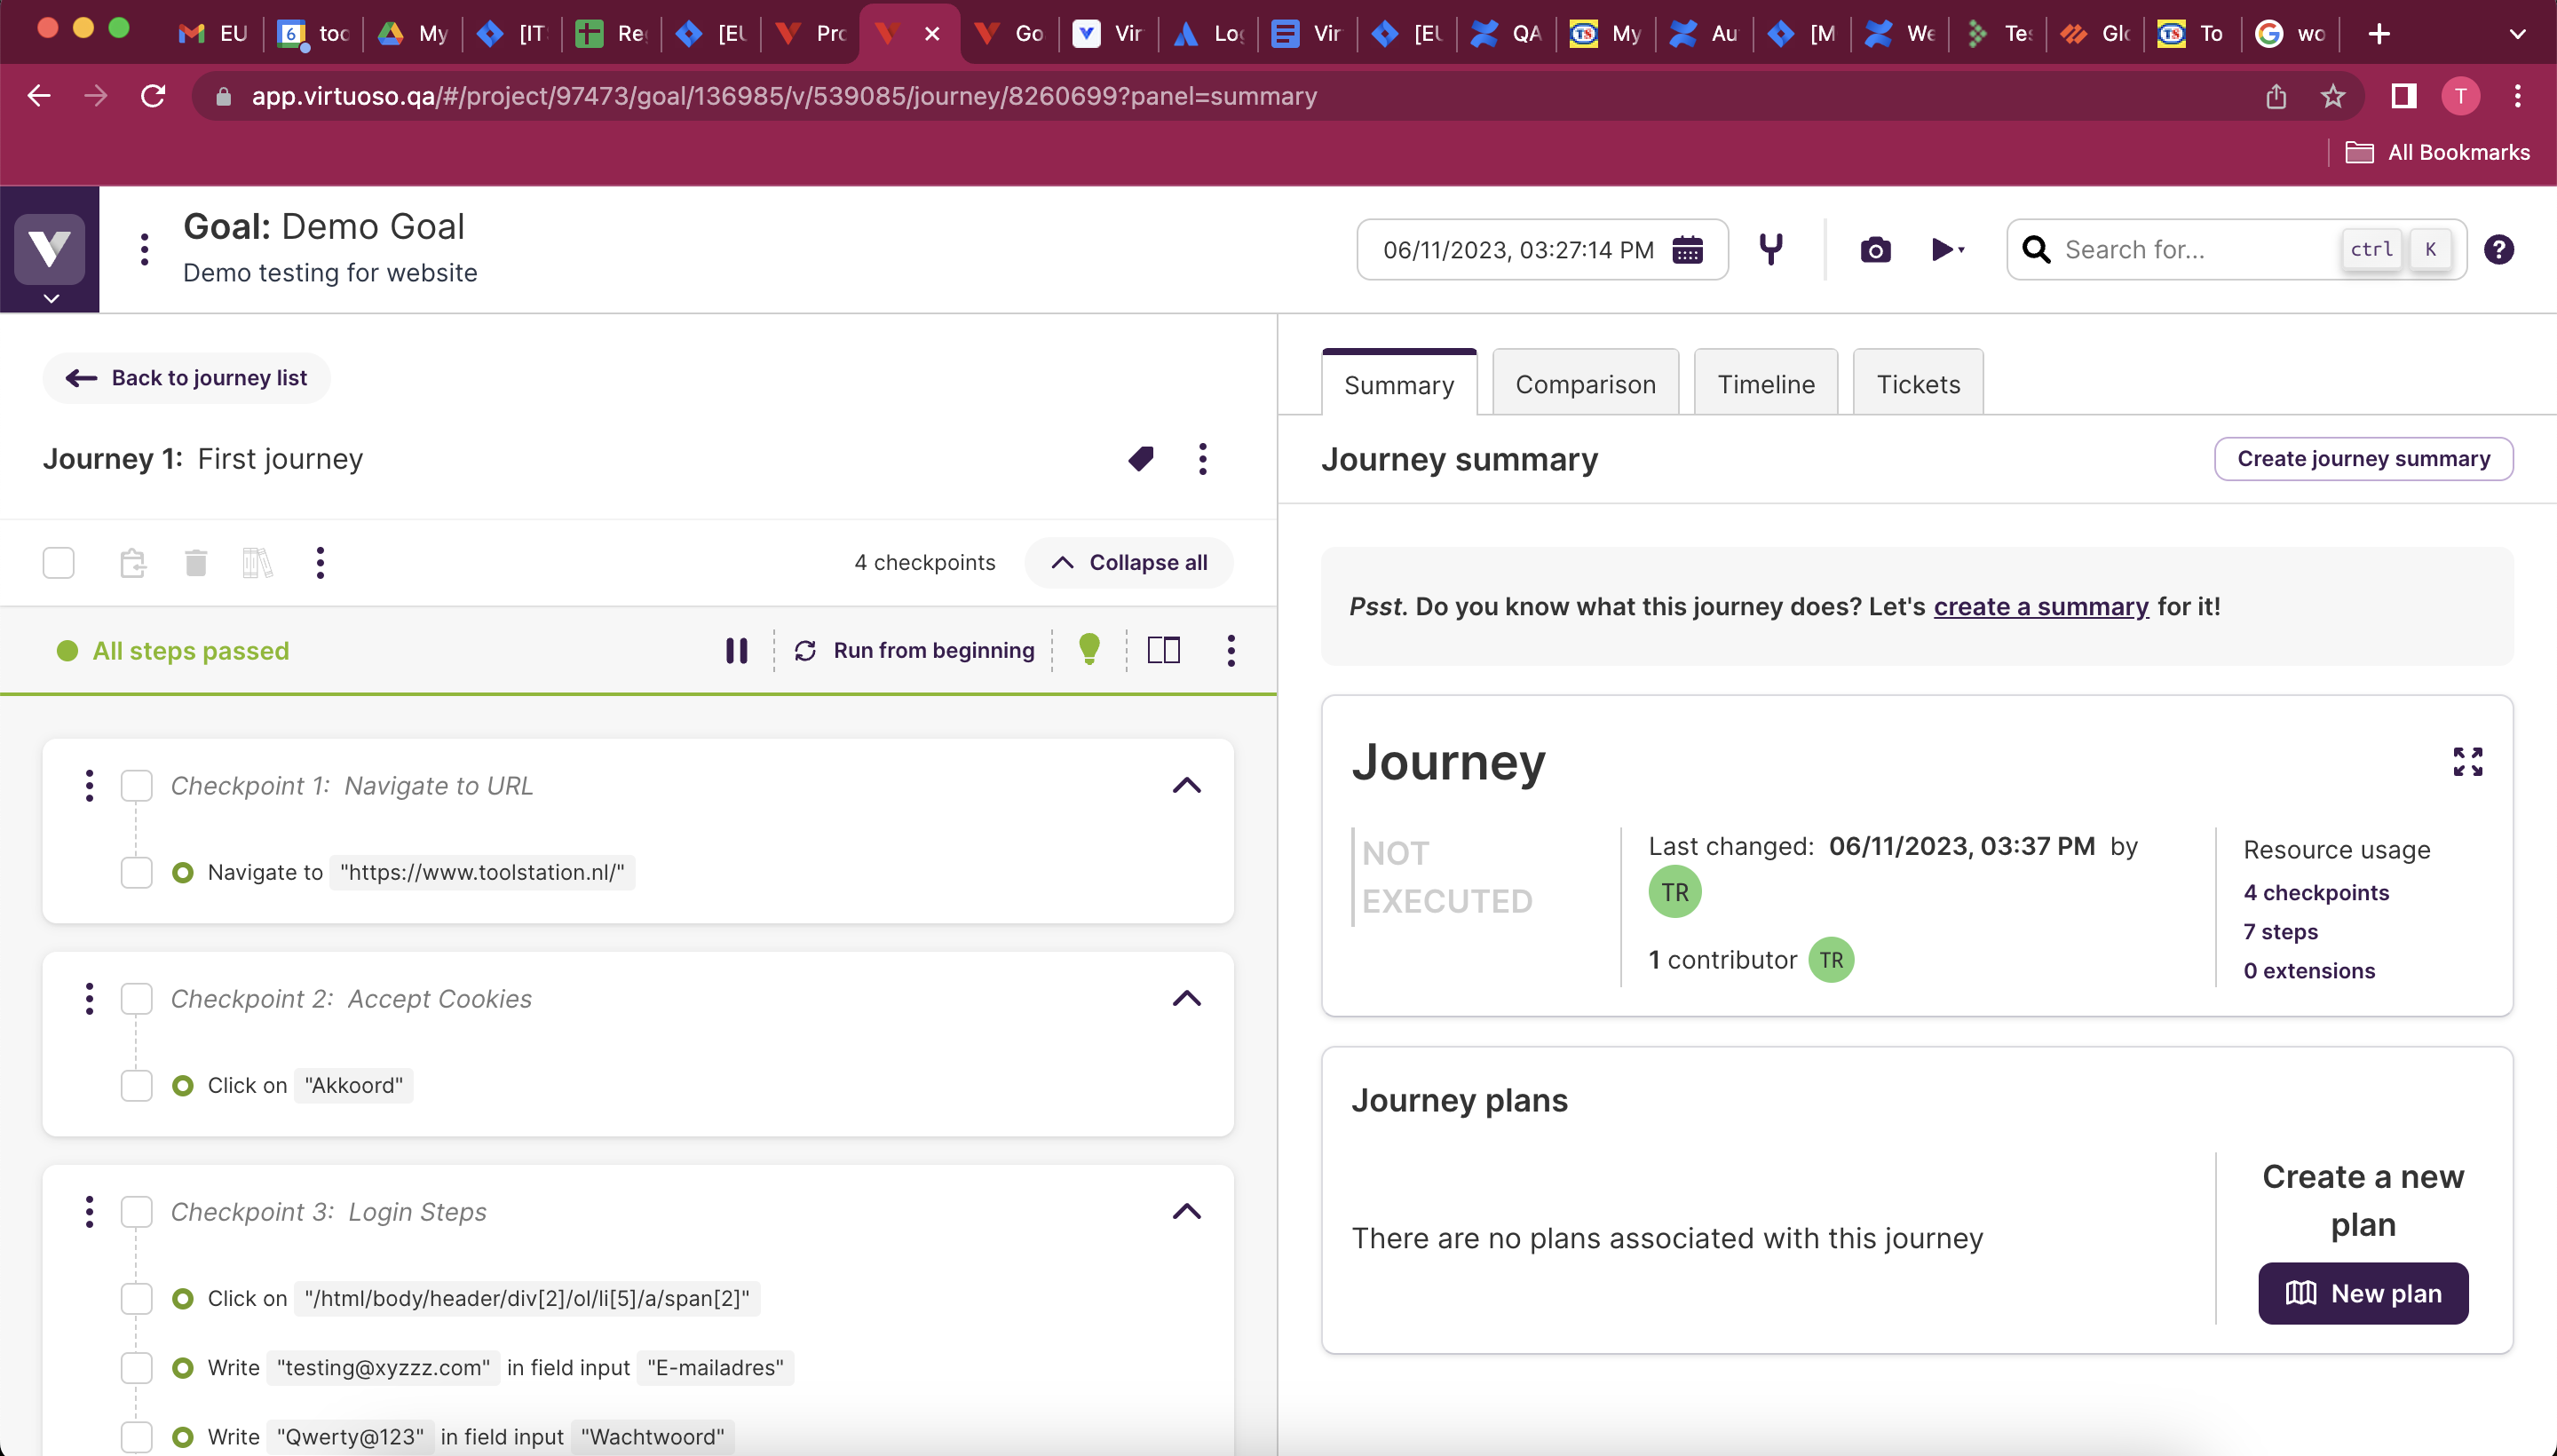
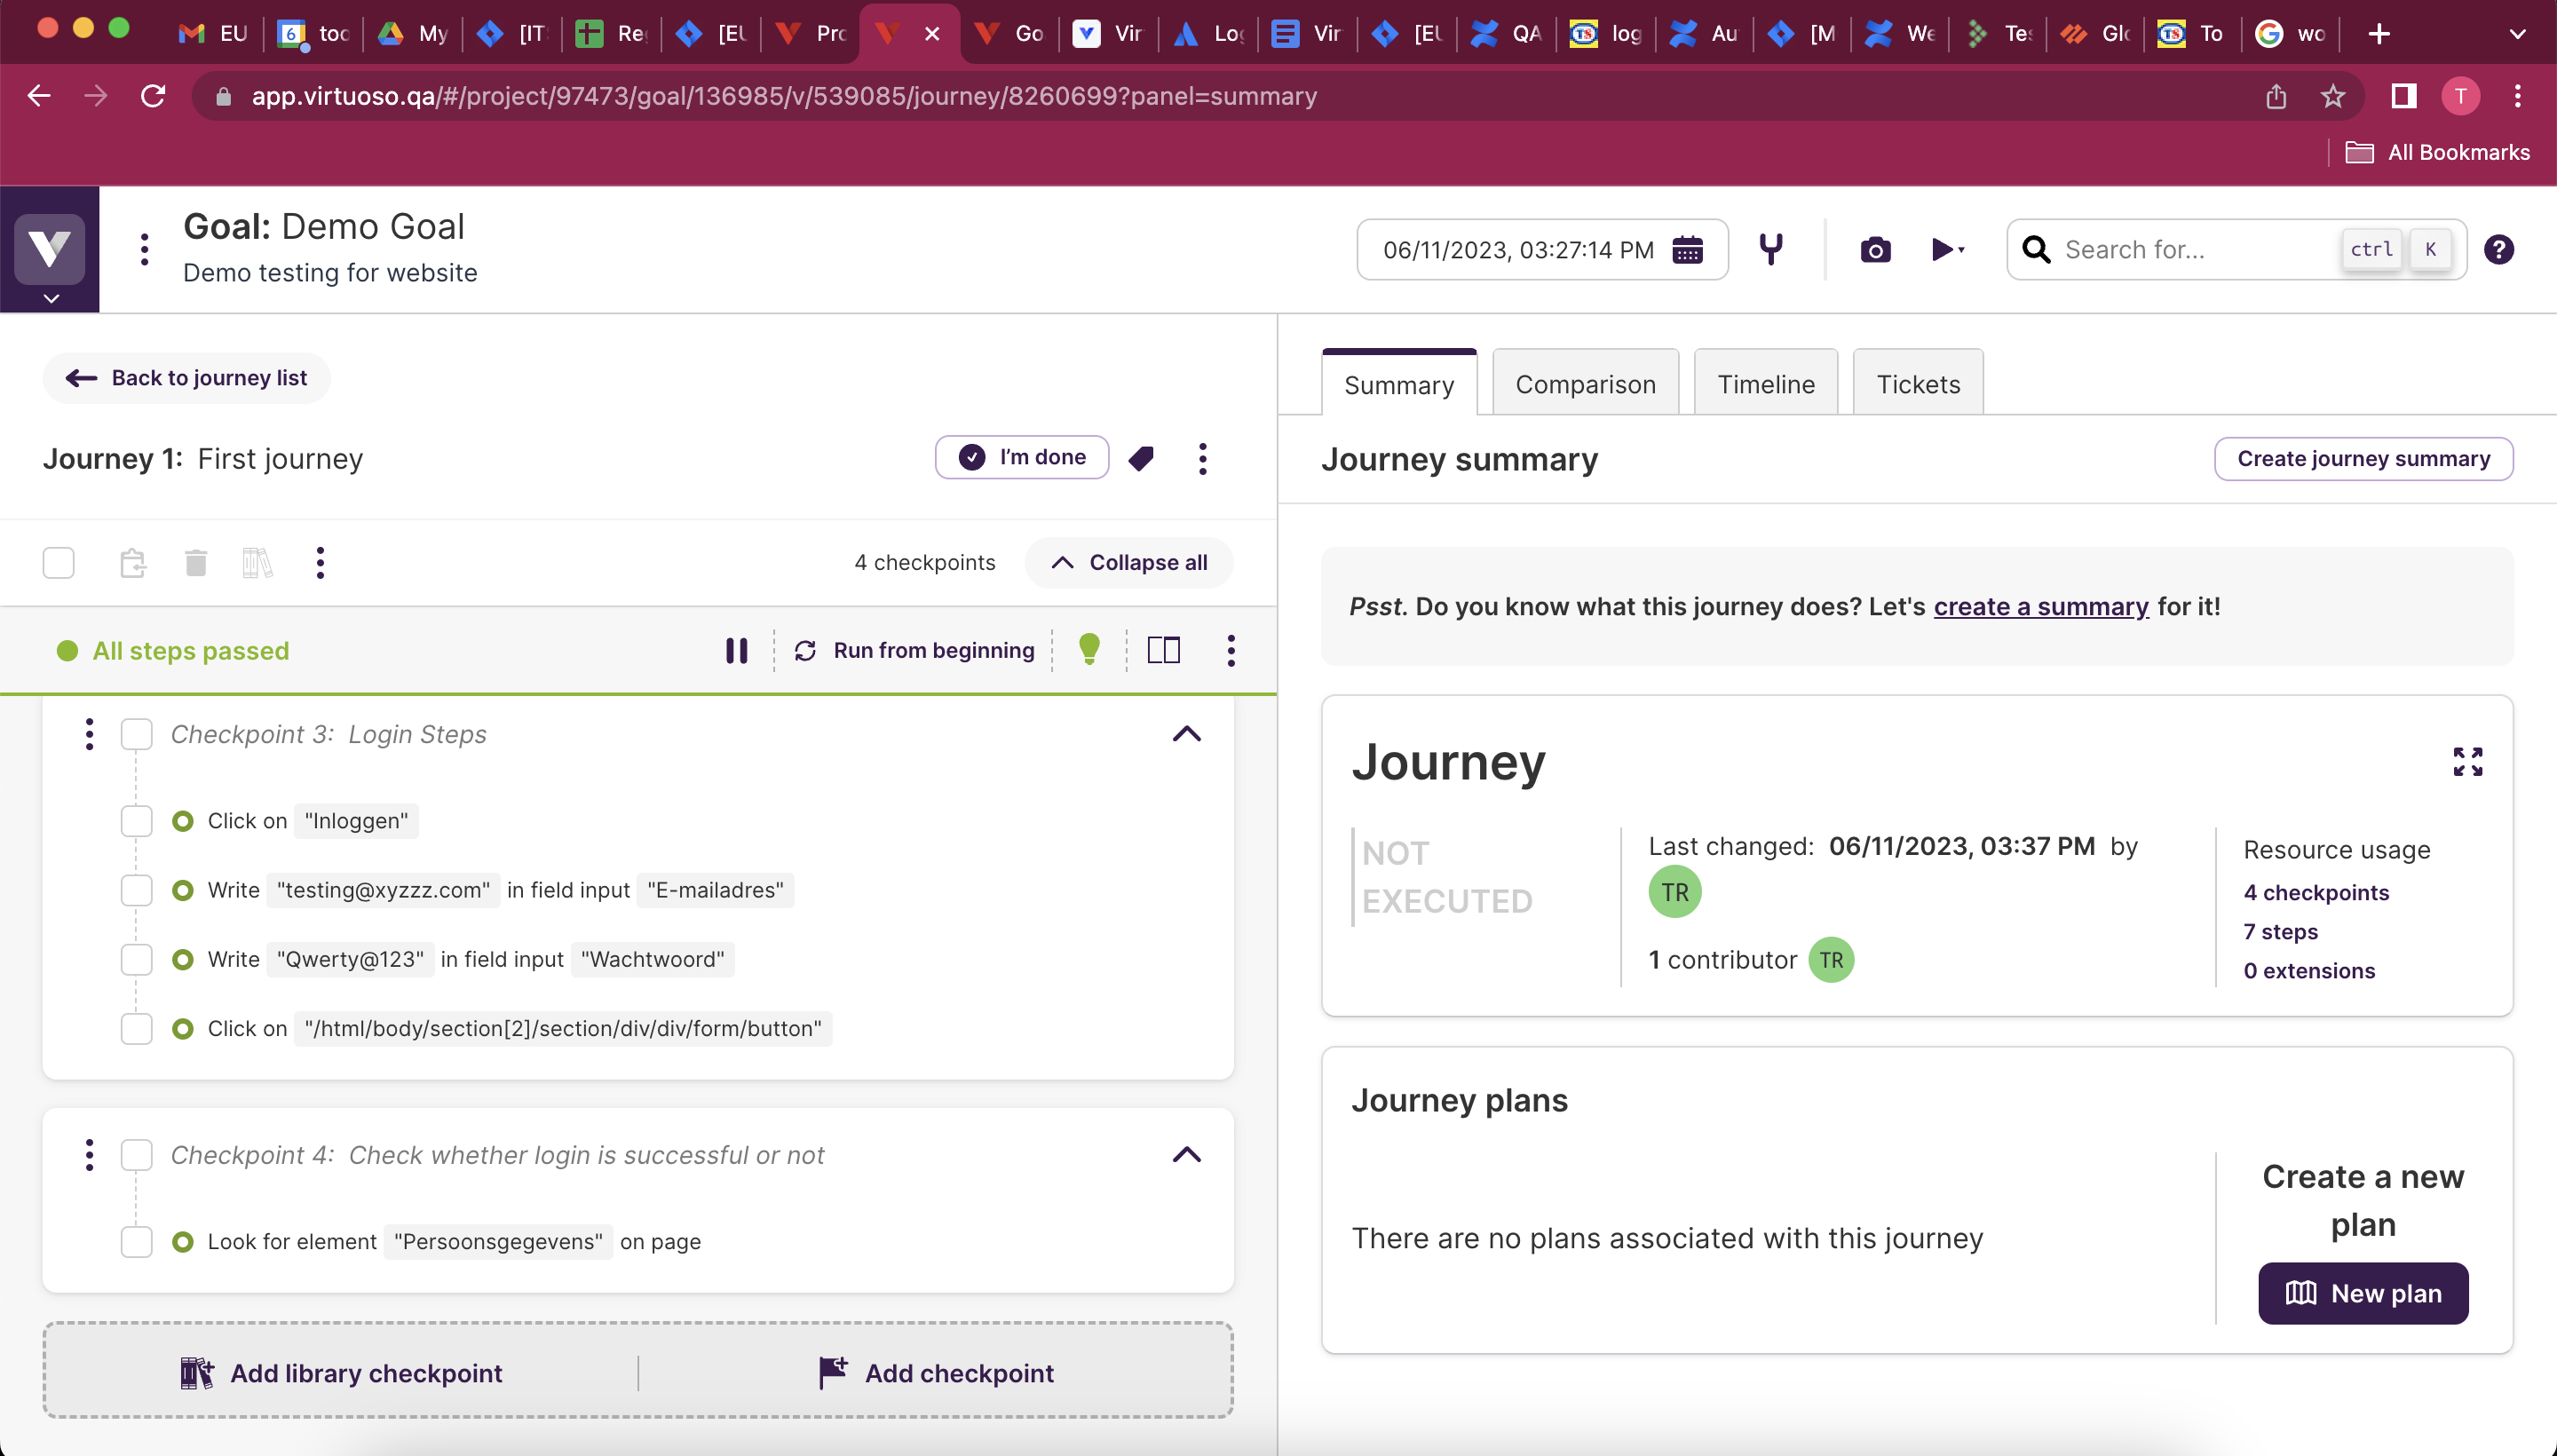
- Look : It is used to validate and assert any scenarios for your test case. For Eg. Look for element "element_name" on page (Shown below in Checkpoint 4)
- Click on Run From Beginning button to run all steps present in the journey.
- If All steps are passed is displayed then your execution is successful.
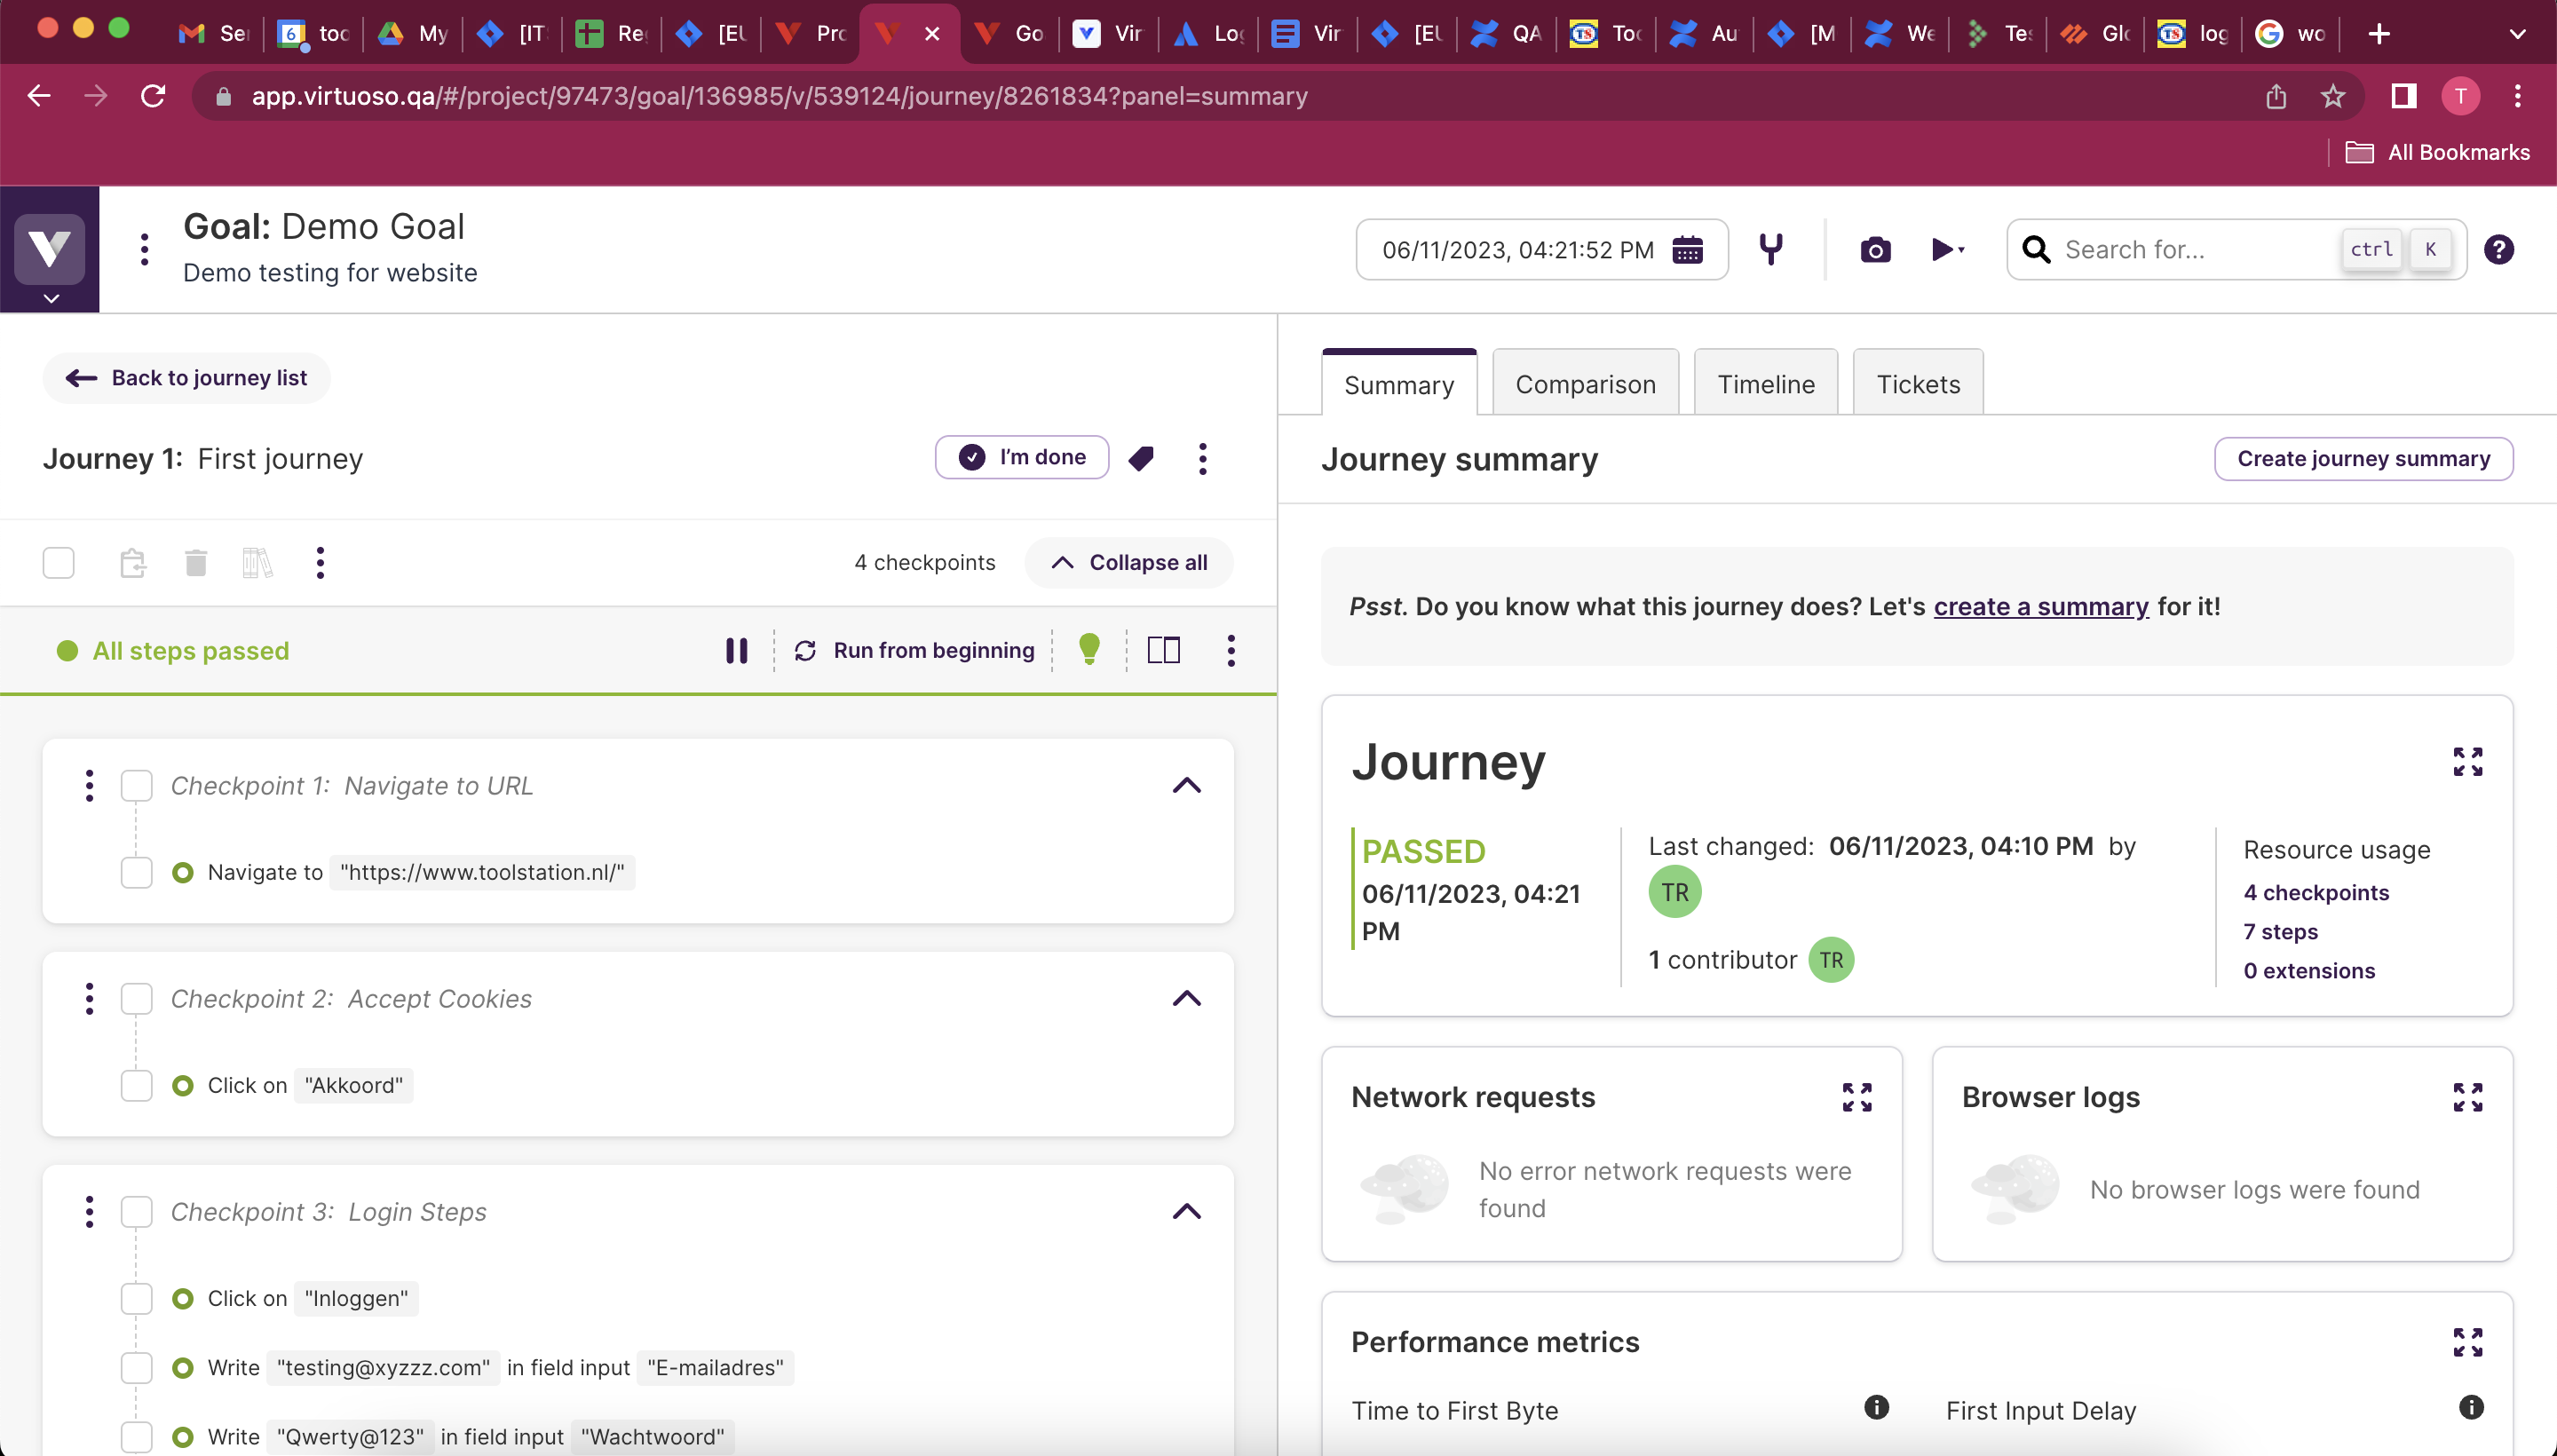
Generate Test Summary and Report
- After all the test steps are passed and scripting is done then click on I'm done option present in the screen to publish the journey and report.

- You can see your journey summary on the right hand side with time stamp and other details as well.
To learn more about managing and executing the journeys, Click here